R1
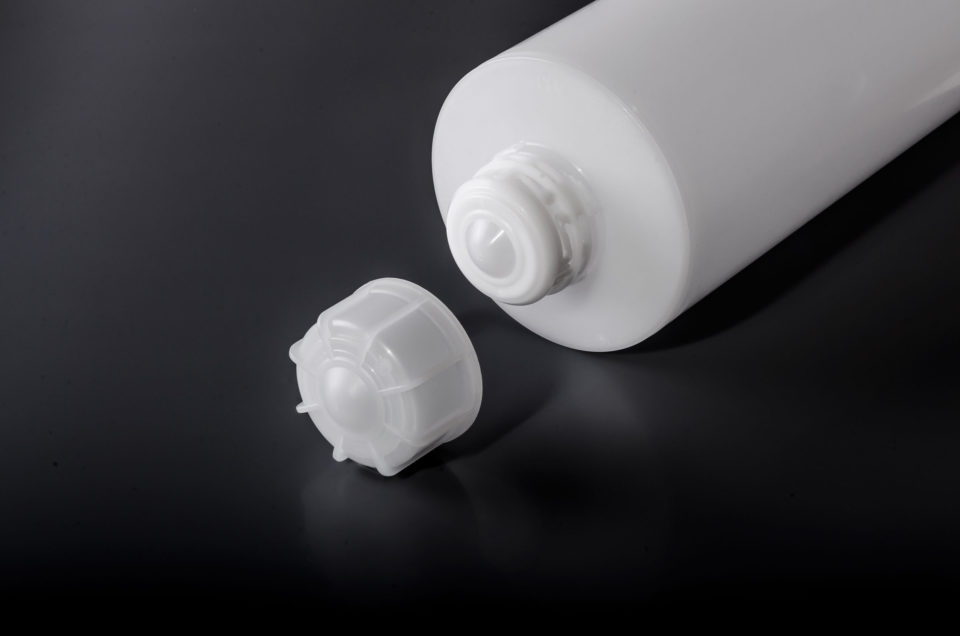
R1 with bayonet cap
10128 – 0000
2000 ml
white
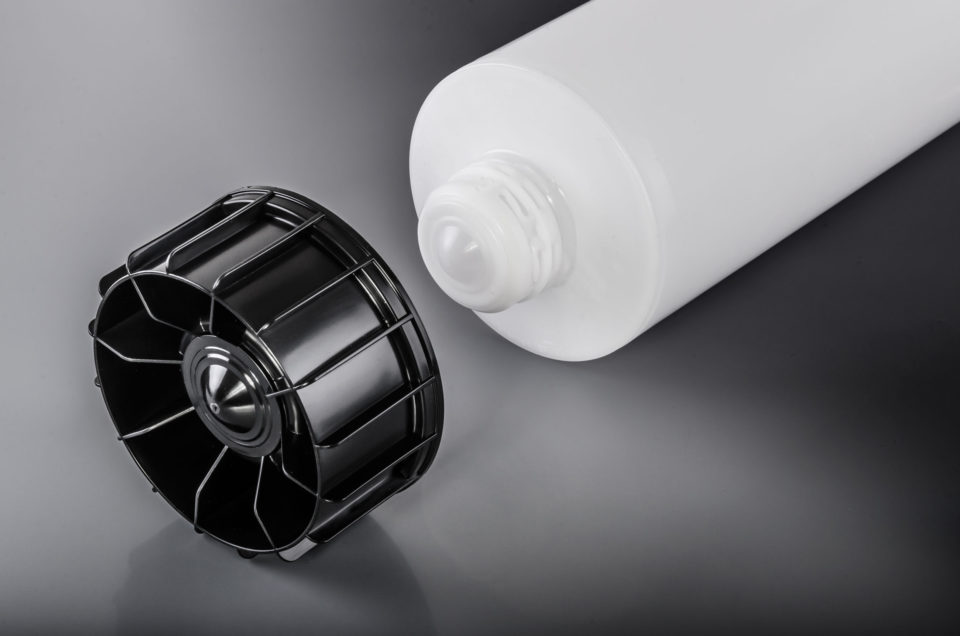
R1 with stand cap
10139 – 0000
2000 ml
white
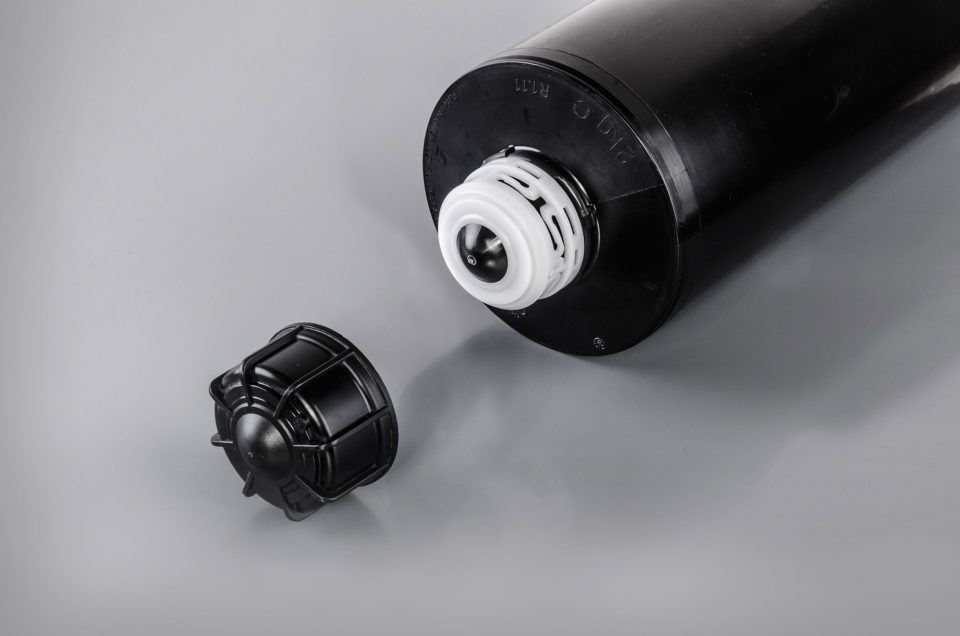
R1 black with bayonet cap
10129 – 0000
2000 ml
black
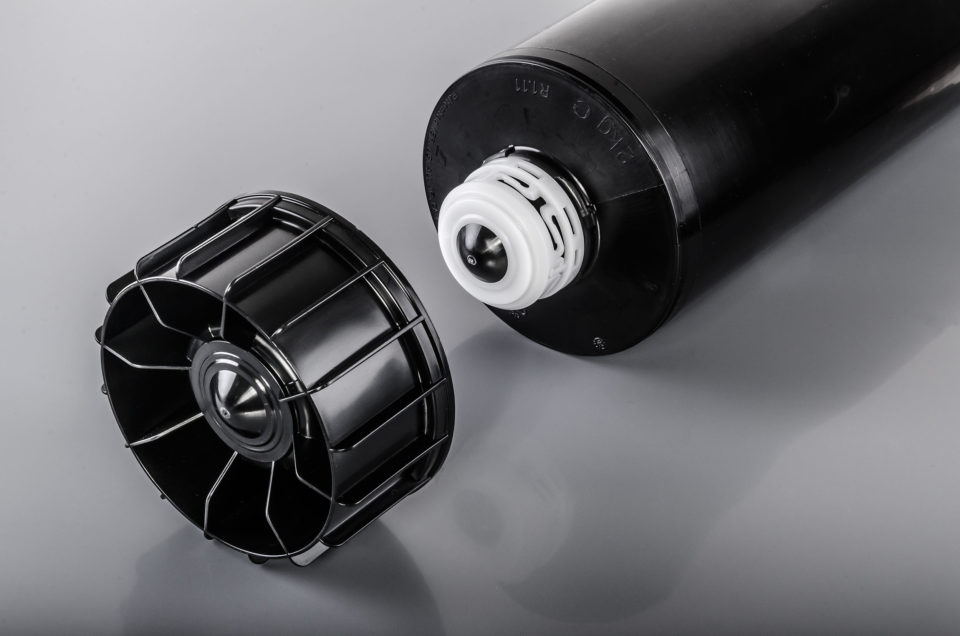
R1 black with stand cap
10140 – 0000
2000 ml
black
The Ritter ink cartridges R1 consist of three parts:
- Cartridge body with integrated valve
- Sealing cap
- Plunger for pressing out the ink
The cylindrical cartridge body is filled with printing ink. The integrated valve is a special feature: it opens when pressure is applied to the ink, and automatically closes again when the pressure eases off.
The ink cartridge is equipped with a sealing cap that is very easy to remove by hand. The cap makes sure that the valve stays closed while the cartridge is being filled with ink, and also provides security during transport. The cap can also be used to tightly reseal a partially emptied ink cartridge after use. Both full and partially emptied ink cartridges have a very long shelf life. Even after being stored for a long time, they can be opened and used without any loss of ink.
The plunger has special air channels that en- sure reliable venting of the cartridge while pressing the ink out. Ink penetrates the air channels, where it hardens to seal them off airtight. The special geometry of the plunger ensures perfect wiping off so that the cartridge can be emptied virtually 100%.
The cartridge can be filled with any offset ink or varnish. For use of UV inks, there are special cartridge versions. Numerous inkfeed systems based on these proven, established Ritter ink cartridges are now available on the market.
| R1 | |
| Dimensions (outside diameter x height) | 99 mm x 366 mm (approx. 3.9 in x 14.4 in) |
| Height with assembled bajonet cap | 368 mm (14.5 in) |
| Height with assembled stand cap | 373 mm (14.7 in) |
| Weight incl. plunger | 200 g (approx. 0.44 lbs) |
| Residual ink after emptying | approx. 10-20 g (0.02-0.05 lbs) or approx. 0,5-1% of total |
| Packaging units for empty cartridges | 48 cartridges per cardboard box 480 cartridges per pallet |
| Packaging size (length x width x height) and packaging volume of pallet holding empty cartridges | 1,20 m x 0,80 m x 2,15 m = 2,064 m3 |
| Special transport requirements | Empty and filled cartridges must be shipped with the valve side facing down in specially prepared cartons. Recyclable trays can be used for this purpose. |
Potentials for saving ink by completely emptying the cartridge
| No. of printing units | Annual ink consumption with 2-shift operation (gross) | Total loss of residual ink 2.5 kg ink can | Total loss of residual ink Ritter R1 ink cartridge | Annual ink saving with the Ritter R1 cartridge |
|---|---|---|---|---|
| 4 | 8.000 kg | approx. 320 kg | approx. 40 kg | approx. 280 kg |
| 6 | 12.000 kg | approx. 480 kg | approx. 60 kg | approx. 420 kg |
| 8 | 16.000 kg | approx. 640 kg | approx. 80 kg | approx. 560 kg |
Comparison of ink loss: 2.5-kg-ink can – Ritter ink cartridge
| Container Type | ||
|---|---|---|
| 2,5 kg ink can | Ritter ink cartridge R1 | |
| Residual ink quantity left after use | approx. 100 g (approx. 4 %) | approx. 10 g (approx. 0,5 %) |
| Ink loss after intermediate storage of opened container | approx. 100 g (approx. 4 %) | 0 g (0 %) |
| Ink loss as a result of changing the ink in the inking system | approx. 500 g (approx. 20 %) | approx. 500 g (approx. 25 %) |
Technical Data and Instructions
Material: PP
Dimensions: Diameter 99,4 mm x 369,8 mm
Net weight: approx. 207 g
Volume: 2 litres
Content: Offset Inks
Discharge Pressure: Mechanical systems max. 4.5 bar
Discharge Pressure: Automatic air-flushed systems max. 4 bar
The discharge on the plastic cartridge is fitted with a specially developed valve, which ensures good function with all conventional discharge systems. The valve opens when the pressure is applied and is closed automatically by the integral spring-loaded arms as soon as the pressure has been completely reduced. The valve is fitted with an additional sealing cap, which holds the valve closed during the filling process, closes the valve during transport and guarantees a perfect seal for storage. The sealing cap must be removed before the cartridge is inserted into a discharge unit. The cartridge is sealed with a special piston after it has been filled. This piston is fitted with a ventilation system, which automatically absorbs the residual air after the piston has been inserted and hermetically seals the ingressed ink. The ink that ingresses into the air duct is hardened in the residual air and thus seals the air duct. The piston is tailored to the cartridge and this enables it to be emptied completely. With a correct discharge unit the residue amounts to a maximum of 1 – 2% of the net content.
You must ensure that if the temperature is below 15°C the ink cartridge is brought to room temperature before being filled, otherwise there is a risk that it will split. During the filling process also ensure that the internal wall is not wet with ink above the fill level, otherwise the piston may stick and you will experience problems when you apply pressure to the cartridge. A setting funnel must be used to settle the piston. Ensure that a suitable thrusting tool is used. To vent the piston during the settling process use thin strips of soft plastic, max. 0,7 mm thickness, or a thin metal strip (do not use wire unless you have no alternative). The sealing lip on the piston must not be damaged. The end of the piston should be at least 1 cm inside the cartridge after the settling process.
The ink cartridge should be transported and stored after being filled with its head down (with the valve at the bottom) so that any included air bubbles near the valve will move towards the piston and will thus prevent skin being pressed into the printing unit. The transport packaging must include a suitable insert on which only the shoulder area of the cartridge should be supported. The insert must be capable of absorbing the vibrations that occur during transport. The valve unit must not be placed or strike against the base since this can cause malfunctions or, in cool temperature, may even result in the valve being broken. It is essential that there is sufficient space between the valve unit and the base of the packaging. In addition the transport packaging must have a suitable protective insert to ensure that the ink cartridges can not come into contact with each other.
Ensure that the ink cartridge is stored properly. After opening the top of the packaging, you can see whether this is the case by the piston side of the ink cartridge pointing upwards. Before use, the ink cartridge should be brought to room temperature. Before you insert the ink cartridge into a discharge system the sealing cap must be removed. We recommend that you use pneumatic discharge units with compressed air circulation to ensure optimal wiper results by the piston. Mechanical discharge units, depending on their design, may result in the deterioration of the wiping properties of the piston as a result of the instability of the unit and excessive operating pressure. Before you insert an ink cartridge into a discharge unit, conduct a visual inspection for signs of damage or leaks around the valve. If after use the cartridge retains some ink, then after removing it, clean the ink discharge area near the valve very carefully and reside the sealing cap. Use partly emptied cartridges alternately. If you wish to use a partly emptied cartridge again, ensure that there is no dried ink on the valve. Any skin should be removed before use.
If you have any further questions on this subject, please do not hesitate to contact the following:
Germany: Ritter GmbH
Sales Dept.:
Andreas Ruf
Phone: +49-8232-500327
andreas.ruf@ritter-online.de
Application Dept.:
Sebastian Kertzscher
Tel.: ++49-8232-5003731
sebastian.kertzscher@ritter-online.de
If you have any further questions on this subject, please do not hesitate to contact the following:
Inksolutions LLC.
800 Estes Ave
Elk Grove Village, IL 60007
USA
Sales Dept.:
John Jilek Jr
Phone: ++1-847-593-5200
Fax: ++1-847-427-1500
jjilekjr@inksolutions.us
Ink feeding systems
suitable for:
conditionally suitable for:
Fitting of the Ink Cartridge Piston by hand
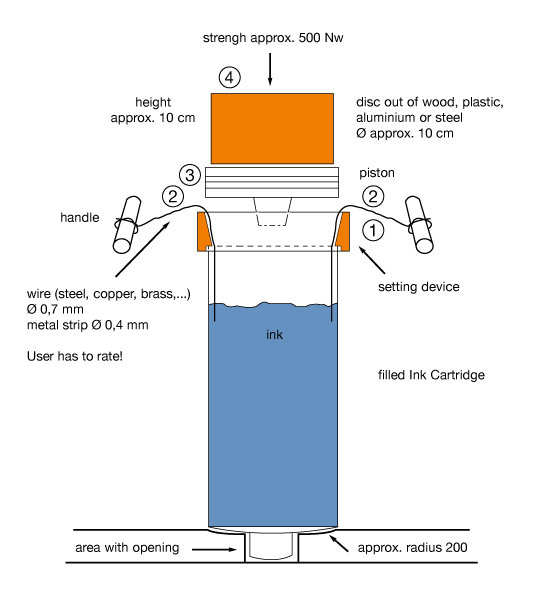
- Place the setting device on the cartridge end
- Insert the wire into the cartridge along the wall (see picture)
- Insert the piston into the setting device and push it down onto the ink with the plate
- Extract the wire immediately to avoid ink coming out
- Clean the strip
In case of questions please contact the sales department.
Download: Instruction in pdf